
Essential Guide to Clinch Stud Installation
Installing clinch studs might seem like a daunting task, especially if you’re not familiar with the process or the tools required. However, with the right guidance and tools, it becomes a straightforward procedure. This guide will walk you through the essential steps and provide tips for an efficient and successful clinch stud installation.
By the end of this guide, you will have a clear understanding of what clinch studs are, their benefits, and how to install them effectively using the appropriate tools.

Before diving into the installation process, it’s crucial to understand what clinch studs are and why they are used. Clinch studs are a type of fastener designed to be pressed into a pre-punched or drilled hole in sheet metal. They provide a strong, threaded anchor point for attaching additional components.
Why Use Clinch Fasteners?
Clinch fasteners, including clinch studs, offer several advantages:
- Permanent Attachment: Once installed, clinch studs provide a durable and permanent thread in thin sheets of metal.
- Space Efficiency: They eliminate the need for additional hardware, saving space and reducing the weight of assemblies.
- High Strength: Clinch studs offer high pull-out and torque resistance, which ensures a reliable hold.
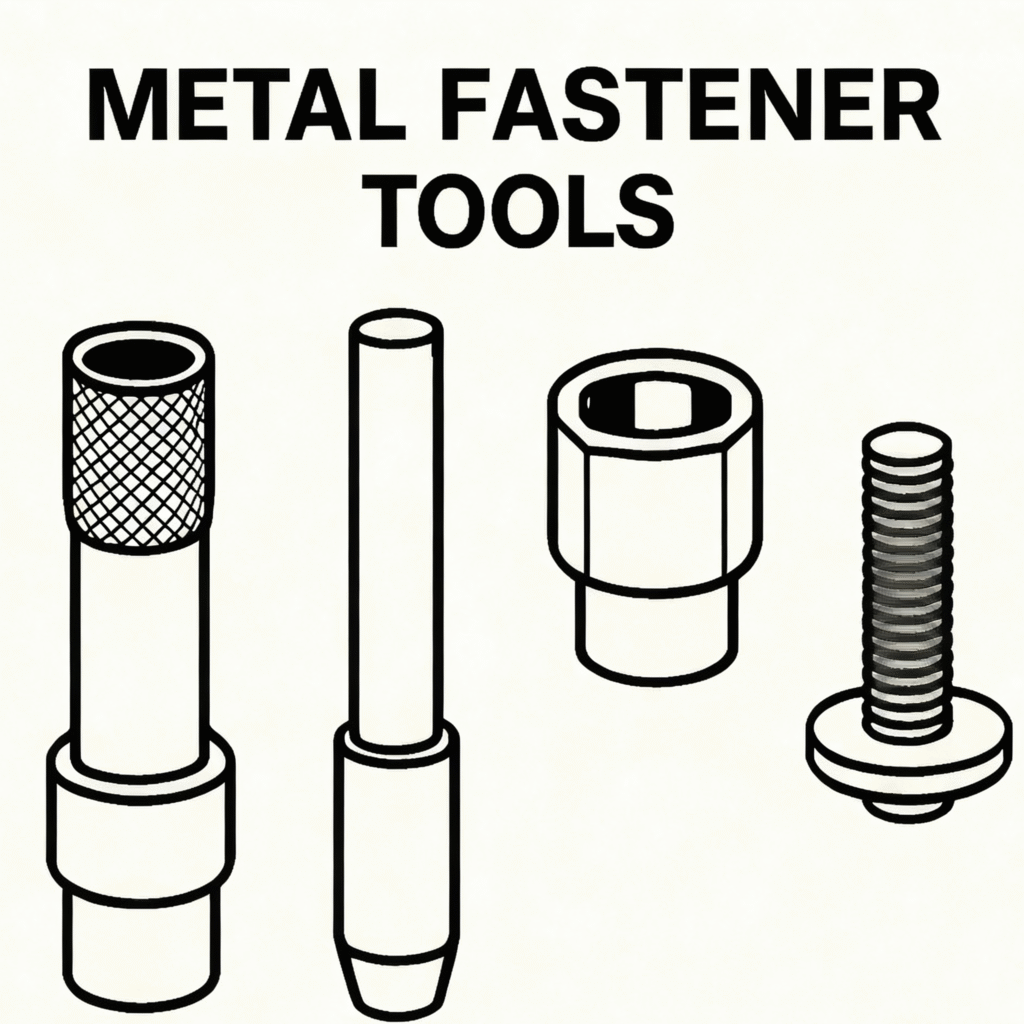
Tools Required for Installation
To install clinch studs, you will need specific tools. The choice of tools depends on the volume of installation and the precision required.
Manual Installation Tools
For small-scale projects or repairs, a manual installation tool might suffice. These tools are generally more affordable and easier to use for beginners. They include:
- Hand Presses: Ideal for low-volume applications, hand presses allow for precise control during the installation process.
- Hammer and Anvil: A more traditional approach, this method requires careful alignment to avoid damaging the stud or the sheet metal.
Automated Installation Tools
For larger projects or industrial applications, automated tools are more efficient:
- Hydraulic Presses: These provide consistent pressure, ensuring uniform installation across multiple studs.
- Pneumatic Presses: Faster than manual options, pneumatic presses are suitable for high-volume production environments.
The Installation Process
The installation of clinch studs involves several key steps. It’s important to follow each step carefully to ensure a secure attachment.
Step 1: Preparing the Sheet Metal
Start by preparing the sheet metal where the clinch stud will be installed:
- Measure and Mark: Use a ruler or measuring tape to mark the exact locati0n where the stud will be installed.
- Drill or Punch a Hole: The hole should be slightly larger than the unthreaded portion of the stud. Ensure that the hole is clean and free from burrs.
Step 2: Positioning the Clinch Stud
Position the clinch stud over the hole. The flange of the stud should rest flush against the sheet metal surface. This alignment is crucial for ensuring that the stud is installed correctly.
Step 3: Applying Pressure
Using your chosen installation tool, apply pressure to the stud:
- Manual Tools: Align the hand press or hammer over the stud and apply pressure evenly. Ensure that the stud is pressed flat against the sheet metal.
- Automated Tools: Set up the hydraulic or pneumatic press according to the manufacturer’s instructions and activate the press to install the stud.
Step 4: Verifying the Installation
Once the stud is installed, inspect it to ensure that it is secure and flush with the sheet metal surface. Check for any movement or gaps that might indicate an improper installation.
Troubleshooting Common Issues
Even with careful preparation, issues can arise during clinch stud installation. Here are some common problems and solutions:
Misalignment
If the stud is not aligned properly, it may not sit flush against the sheet metal. To fix this, remove the stud and re-align it, ensuring that the flange is even with the metal surface before reapplying pressure.
Incomplete Installation
If the stud is not fully installed, it may result from insufficient pressure. Recheck your tool settings and apply additional pressure if necessary.
Metal Deformation
Excessive pressure can deform the sheet metal. Ensure that you are using the appropriate amount of pressure for the material thickness and stud size.
Benefits of Proper Clinch Stud Installation
Installing clinch studs correctly provides numerous benefits:
- Enhanced Durability: Proper installation ensures that the fasteners can withstand high levels of stress without loosening.
- Reduced Maintenance: A secure installation minimizes the need for frequent maintenance or replacement, saving time and resources.
- Improved Aesthetic: Neatly installed studs improve the overall appearance of the assembly, which is particularly important in consumer-facing products.
Conclusion
Clinch stud installation, while seemingly complex, can be mastered with the right tools and techniques. By understanding the process and utilizing the appropriate equipment, you can ensure a successful installation that provides long-lasting and reliable results. Whether you are working on a small DIY project or a large industrial application, the principles outlined in this guide will help you achieve your goals efficiently and effectively.
